In a previous post, I discussed the joys of taking photos using a Holga Camera. For those of us who have already crossed into the digital divide, there are still ways of making your digital photos appear as if they were taken with a real Holga camera. While there are countless actions available for Photoshop that will give our photos that ‘holga look’ automatically, the real test of ones ability is to be able to perform these post-production edits ourselves. One of the main benefits of doing editing manually is that each image will have it’s own unique edits, just like a real Holga camera, instead of a macro, where every image gets the same cookie-cutter treatment.
This tutorial will show you how to render Holga-like effects that are unique to each individual image using free software.
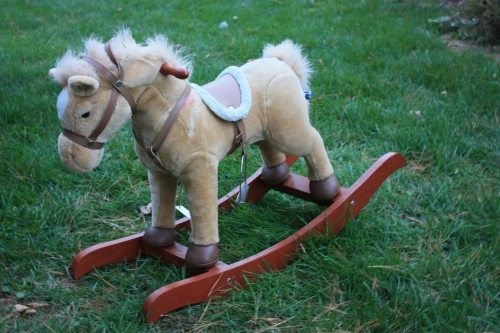
What You Need – You will need to download a copy of Paint.net, which is available for free. In case you aren’t familiar with Paint.net, it is a free [very basic] clone of Photoshop. We’ll start with this plain snapshot of a toy rocking horse. Feel free to download this image if you wish, but please DO NOT post this image, or your final image on the internet (if you used the above photo). Images you create using this method using photos you took should be posted online, and I encourage you to do so!
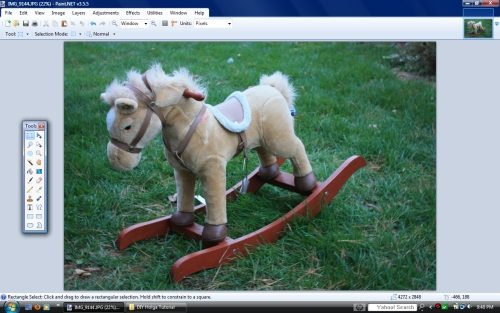 Step 1 – We will open the rocking horse photo with Paint.net. Throughout this tutorial, the images shown are smaller than actual size to save layout space. Click the images for a larger view (opens in a new window).
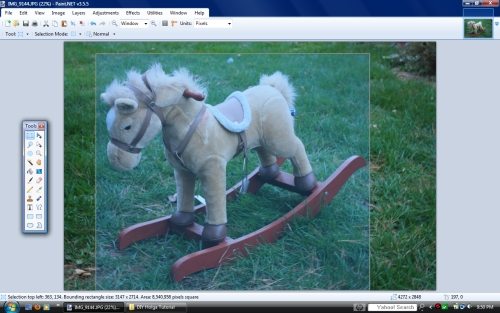 Step 2 – Now that we have the file open with Paint.net, we will first need to crop it as squarely as possible. To create an exact square crop, hold down the shift key. I have cropped this image somewhat (i.e. not exactly) squarely, which is more representative of a true image taken with a holga camera.
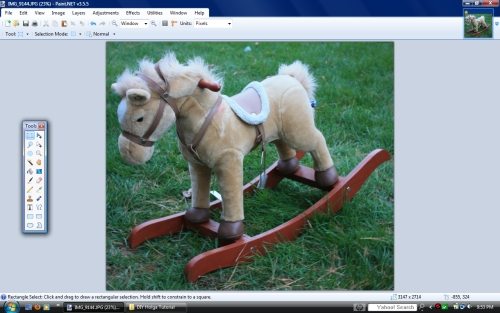 Step 3 – This is what your image should look like now that the image has been cropped.
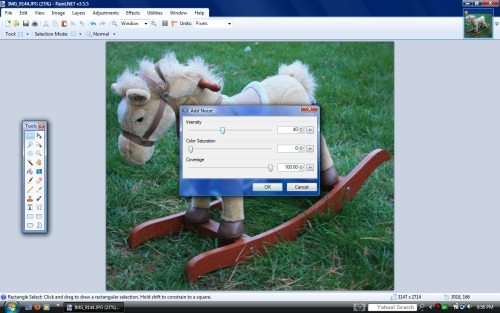 Step 4 – Add noise. Go to Effects > Noise > Add Noise. Set the Color Saturation to 0, and the coverage to 100. The intensity is yours to determine. Try moving the slider back and forth until you find the amount that works best for your image.
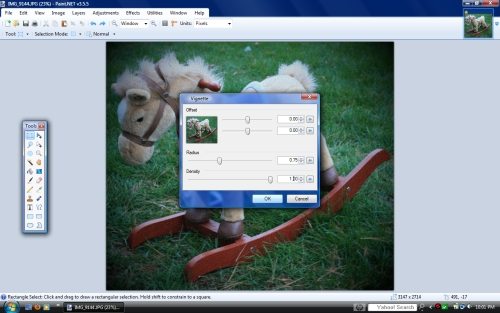 Step 5 – Add the vignette. Go to Effects > Photo > Vignette… Set the intensity at 1; adjust the radius accordingly. For the ultimate Holga effect, set the offset just off center, and change the values randomly slightly off center with each and every photo you edit.
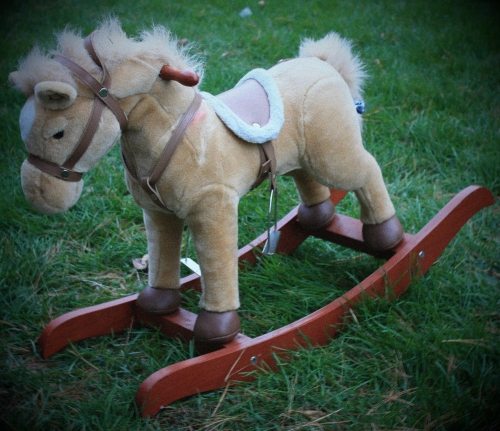 This is the final, finished image. The last [optional] step is to adjust the brightness and contrast, but remember that a Holga camera has a fixed aperture and no light meter, so it is not unusual to get imperfect exposure. Be sure to save your image, and share it for others to admire.
More examples of Holga Effects I’ve created using the above method…


*The Current Photographer website contains links to our affiliate partners. Purchasing products and services through these links helps support our efforts to bring you the quality information you love and there’s no additional cost to you.
My company specializes in writing, photography, and website design. My father gave me my first camera when I was a small child, and it quickly became my most prized possession. I was also fascinated with exploring places others rarely ever ventured, such as abandoned places, buildings, and railroad cars.
As time went on, I formed a business centered around my passion; living larger-than-life adventures, and sharing the photographic journey on my website.
Can you figure out how to emulate a Digital Harinezumi effects using post processing? I’m interested in re-creating their filters with multiple images. I’m ignorant about best way to proceed.
Thanks.