When out in the field and faced with a fabulous scene in front of you, there are three choices to consider when it comes to where you should place your horizon; Top, middle, bottom. Positioning the horizon in one of these three places will dramatically effect the perspective of the picture and will help to give your photographs a more dynamic edge. Generally speaking, the casual snapper and beginner photographer will tend to put their horizons more or less dead centre, as this is the way we usually see the world from a standing perspective. However, this tends to give pictures an unnatural balance with the photograph feeling as if it should be viewed as two halves. There will be times though, that placing your horizon in the middle will work a treat.
Lets look at some examples below.
Top:

Choose to put your horizon near the top, somewhere around a third of the way down, when there is either something of great interest in the foreground or very little of interest in the sky.
It was a cold and windy afternoon when I took this shot of the rugged terrain of Dartmoor. The sky to my right was still quite bright but in front of me it was grey and gloomy and although there is some definition and interest where the clouds meet the land, it went to a flat grey the higher you looked. Sky aside, it was the fantastic group of boulders that caught my attention so it made sense to make these the real focus of the image.
Middle:
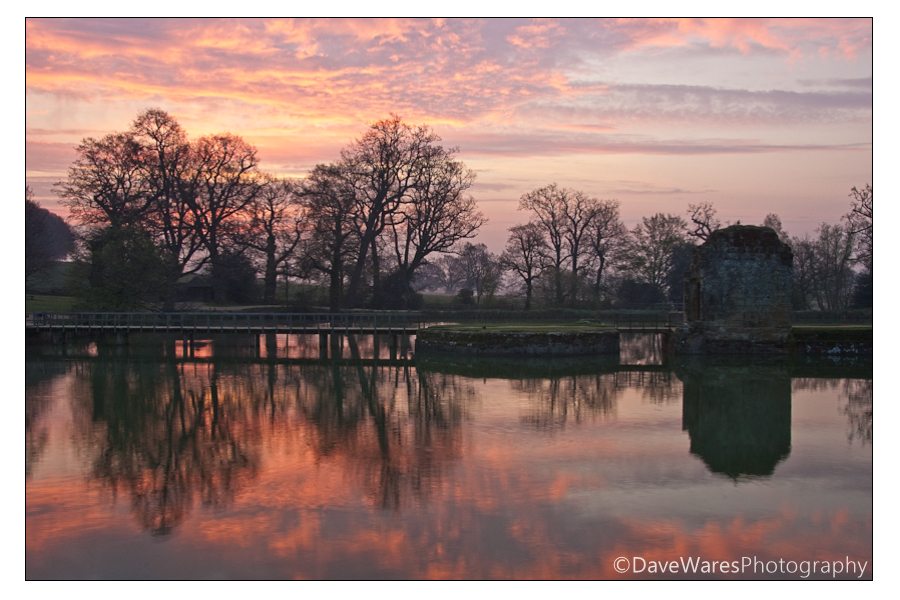 As I mentioned earlier, placing the horizon in the centre will more often than not result in an average looking picture, mainly because its how we all usually see the world. You’re not giving it a new perspective. However there are times when putting it in the middle works well, an example being reflection shots. For this shot there really wasn’t anything to be gained by putting in either more water or sky. The focus is the subject and its reflection, plain and simple.
Bottom:
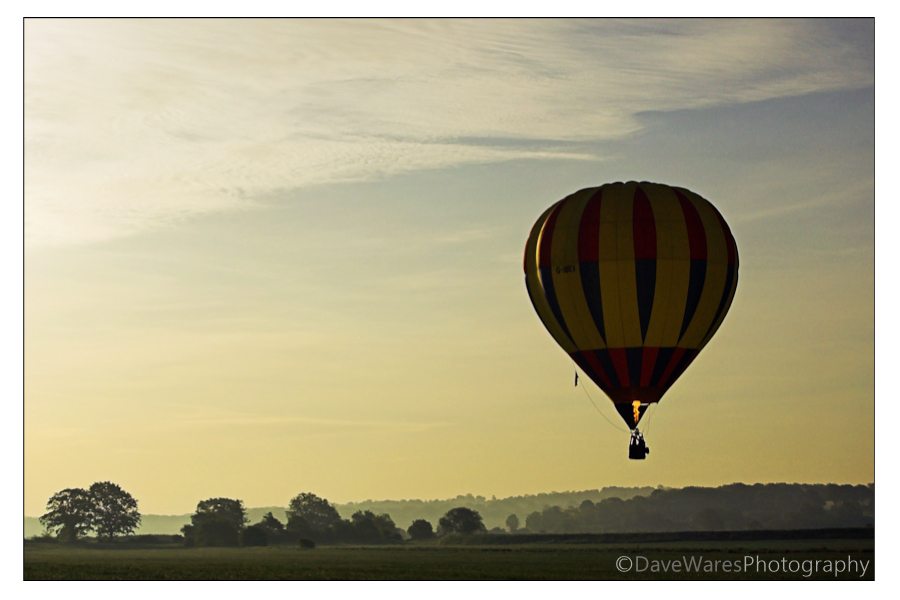 Place your horizon near the bottom, again around a third of the way up as a general rule, when there is little of interest in the foreground with main point of interest being in the sky. It could be something like the balloon in my image, or it could be something as simple as the clouds themselves. I placed my horizon really low for this image to allow more space for the balloon to enter into.
So next time you’re out, decide where the main point of interest is and place your horizon accordingly.
*The Current Photographer website contains links to our affiliate partners. Purchasing products and services through these links helps support our efforts to bring you the quality information you love and there’s no additional cost to you.
Based on the south coast of England UK, I love to photograph landscapes and nature. In addition to this, over the past two to three years I’ve become fascinated with Urban Exploration and dereliction.
I’ve always had a passion for creating art, studying art and design during my school years and spending much of my time watercolour painting. After a brief love affair with playing rock guitar, photography was to be the next step in my creative life and I haven’t stopped since.
My photography has always been a continuous journey, constantly trying to gather as much information as I can to help push my photography to new levels and explore new avenues of creativity.
I love sharing the things I have learned and over the past few years
I have been an active committee member of a local camera club, giving occasional tutorials on photo skills and basic Photoshop techniques. I am also the proud winner of ‘The Portman cup’ for ‘Best Image of 2010′ at the Sussex Photographic federation’s Projected Digital Image competition.