As a photographer my preferred line of work is in the studio, taking shots of people and products. My aim is to always create images that need a minimal amount of post production. This not only saves me time but I feel it forces me to be a better photographer. If I take my time composing a shot with consideration to how it’s going to end up looking on my screen or in print then hopefully it will come out right with minimal post production work. It’s not easy to do this and far too often I hear people say ‘ah that will do, I can Photoshop it out’. True, with the right skill set on Photoshop there is very little that is not possible these days. But does that make you a better photographer, no it makes you a better illustrator or image retoucher or essentially a lazy photographer!
 If you can get an image spot on with minimal editing why would you not choose that path? Unless you are more of a photo retoucher and enjoy editing image after image why do it? Well an answer to this question may lye in the economic climate of todays world. Businesses are having to become very clever in their marketing strategies and to keep on to of the game they need something fresh and new. Good photographers are no different; constantly on the look out for new ideas, new challenges and finding a niche or edge over the competition.
So you’re a product photographer and your client is looking for something different or fresh for their website, why not offer 360º Product Photography?
How to…
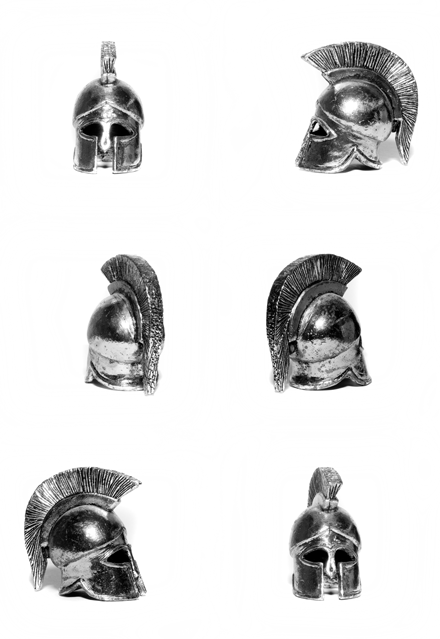
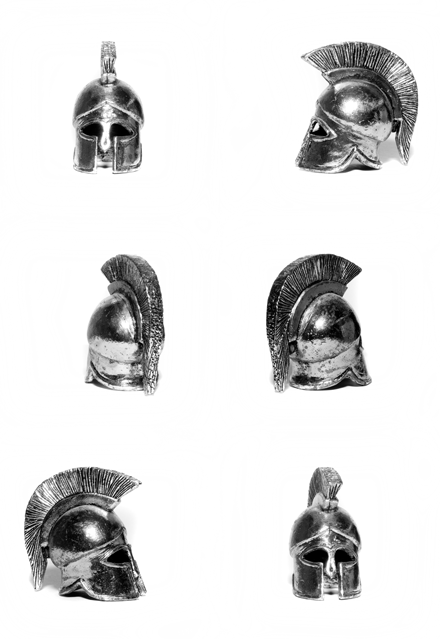
360º Product Photography is surprisingly easy to create, it is a little time consuming and you will most likely need to do some post production but it is worth it for the end result. As you see above you can create an almost seamless 360º image of any object and you really don’t need any expensive specialized equipment. The above image was created with a Canon 50d, Sigma 50mm f2.8 macro lens and basic lighting.
The trick….the only vital piece of equipment you need is a rotating cake stand / tray. They can be purchased for very little and enable you (once marked) to take a high number of images through 360 degrees. There are kits available that are fully automated. By this I mean for $$$ you can purchase a kit comprising of an electronic rotating tray, all required hardware and software to do the job for you! All you have to do is set up your product on the tray point your SLR towards it, plug your SLR in to your PC and the software rotates the tray, takes the photos and even edits the photos for a pure white background! If you find yourself suddenly being requested for a high number of 360 images it may be worth investing.
If however you are just starting out in 360 imagery and rarely get requested for it then there is a slightly longer yet more cost effective solution.
Stage 1
- Buy a cheap white rotating cake tray.
- Buy some white card (your choice of satin or matt)
- Set up the card on the tray and either use card or a mini light box for your white background.
- Set your lighting.
- Take the required amount of images, remember the more images taken the more seamless the end result will be.
I took a series of 16 individual images, this enabled me to get the image above once they were all merged.
Stage 2
It may be worth playing around with Stage 2 with a small number of images first to get used to the process.
- Open up Photoshop
- Click on ‘Window’ – ‘Animation’.
- Open all the required images.
- Edit the images size, crop and white background to your requirements.
- Put them in order. Start with the first image in the series (the image you wish the animation to start with, for example the front of the product)
- You need to add all following images as a new layer to the first image.
- Unlock the first layer / image and make it invisible by clicking the little eye icon.
- To add a new image firstly click on new frame which is next to the bin icon on the bottom left.
- Drag and drop the second image in to the animation strip.
- Make the new layer visable by clicking the little eye icon.
- Click on image one in the animation strip and make that visible in the layer by clicking the little eye icon.
- Once all images are in line highlight all frames and set the delay parameters, then set the first drop down to ‘forever’. This will ensure the image constantly rotates. Also set the time delay between 0 and 0.2.
See examples left 0 sec delay and right 0.2 sec delay.


Thank you for reading
Michael
–
![]()
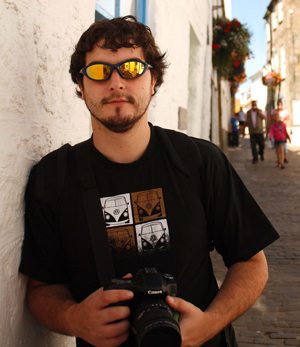
 I have been in to photography for as long I can remember. I have been freelancing for the last three years and offer Corporate & Studio portraits as well as Product photography in the Greater London area.
We offer a portable studio solution for both portraits & product imagery so can come to your home / office by appointment.
Whatever your requirements are, we are confident we can develop your ideas into images and with a budget to suit every client. Please take look at our galleries for examples of our work and don’t hesitate to get in contact with your requirements.

Company: MJL photographics
Phone: 07961697500
Email: mjlphotographics@gmail.com
Website: http://www.mjlphotographics.smugmug.com
Blog: http://www.mjlphotographics.blogspot.com/
Twitter: @photographermjl
Photo Credit: © 2011 Michael Leather
Here’s how you can share your tips, techniques and tutorials on CurrentPhotographer.com
–
*The Current Photographer website contains links to our affiliate partners. Purchasing products and services through these links helps support our efforts to bring you the quality information you love and there’s no additional cost to you.