Love it or hate it, high dynamic range photography (and video if you’ve been keeping an eye on Soviet Montage Productions) is the future. HDR photography isn’t new by any means but the technologies that are evolving are quite exciting.
Photoshop CS5 was shipped with it’s latest HDR innovation and Canon have raised the game with their recent patent application (USPTO Appl. No. 12/630,594). Without going to to too many details, it seems that Canon have found a way to alter exposure values at pixel level, thus creating a single image, from a single frame, with a wider dynamic range than we’ve seen from any DSLR.
Now that’s pretty exciting wouldn’t you say?
I had plans to head to the PhotoCreative workshop and build a camera from the ground up which uses a beam splitter optic and two full frame sensors… but this might prove a tad time consuming and somewhat expensive so I’ll wait to see what Canon come up with!
The thing is I’m not really a massive fan of HDR software… I’m a wedding and portrait photographer, so posing a subject in a Daguerreian style whilst a capturing multiple frames it’s terribly practical.
Till Canon tempt me into another camera body with this new technology, I’ve settled for merely taking advantage of the wonderful range that my RAW images already have.
Just for the record I don’t use Lightroom or any ‘reclaiming’ tools. All of my RAW files are processed using Aperture (which gives you a better range to work with than Camera RAW). The changes after that are all done in Photoshop utilizing the channels.
Here’s quick example of how I like to increase the dynamic range of my images…. (This isn’t a full on tutorial but the fundamentals are there)
This is the image I start with (process from Aperture and opening in Photoshop).
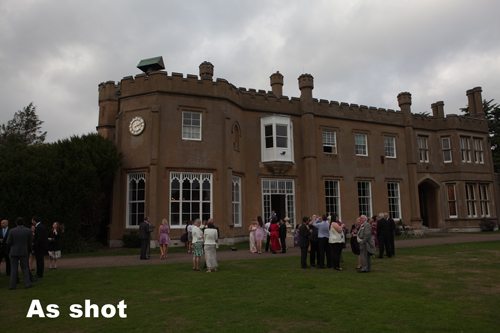
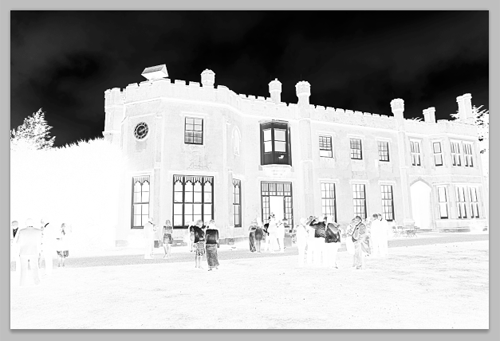
Obviously I want to keep that dark moody sky but I also want to lighten everything else. Using calculations I create a mask to preserves the blues (the sky)
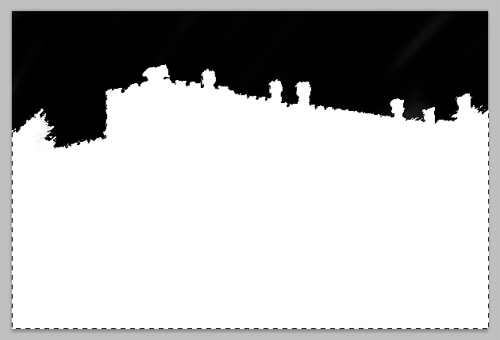
The mask isn’t perfect so using a little bit of brush work and the magic wand tool I end up with a mask which looks a little like this…..
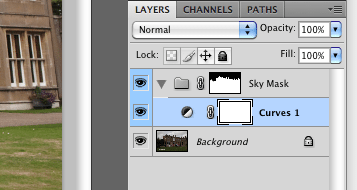
Now I’m free to manipulate those curves (after I put them in a group with my mask) .
End we end up with something a bit like this..
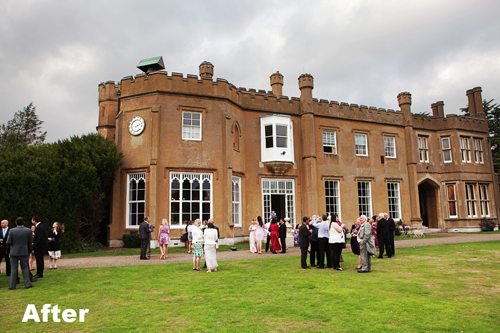
I know it’s not exactly the wiki definition of HDR, but it is closer to what the eye sees and most importantly it doesn’t look too over Photoshopped.
*The Current Photographer website contains links to our affiliate partners. Purchasing products and services through these links helps support our efforts to bring you the quality information you love and there’s no additional cost to you.
Michael has been working as a photographer for the last ten years. In that time he has shot over 100,000 peoples’ portraits and worked in four different continents. In 2001 Michael graduated with a degree in photography from Manchester Metropolitan University.
I really like this and have been looking for something a bit more focused on HDR. Love the combined effect you can get through staggered exposure layers.
This is different but cool. What would be really helpful though is a short video on how this was achieved to get around terminology
RT @TrevorCurrent: #HDR Photography – What’s Next and What’s Already Possible https://currentphotographer.com/hdr-whats… #photog #togs
RT @TrevorCurrent: #HDR Photography – What’s Next and What’s Already Possible https://currentphotographer.com/hdr-whats… #photog #togs