My experience with corporate shoots is that sometimes, the environment is not exactly like the customer has described it, or does not really provides the kind of colors or light allowing to deliver the message you need. That is the reason why I use equipment to modify the look of a specific scene during the photo shoot. Some coloring is of course always possible in post production, but I am not a Photoshop freak, and I prefer to get the results right the first time, and to minimize post production.
First Example
This example was a shooting session in a control center. A few pictures were expected for a press file, showing the “hi-tech” look of the dispatching center. When I arrived on location, I was impressed by the “clean” aspect of the room, a bit like a hospital. I decided to use color filters on strobes to give a more dramatic aspect to the pictures. After some tests I decided to go for dark blue, to give a “night” impression.
Let’s just follow the different steps:
Just for information, the used equipment was:
- Nikon D3 camera with 24-70 2.8 lens on a tripod with hydrostatic head
- Radio controlled shutter
- Radio controlled strobes
- 600Ws Strobes with color filter and barn doors, with digital energy selection
- Lightmeter to determine exposure
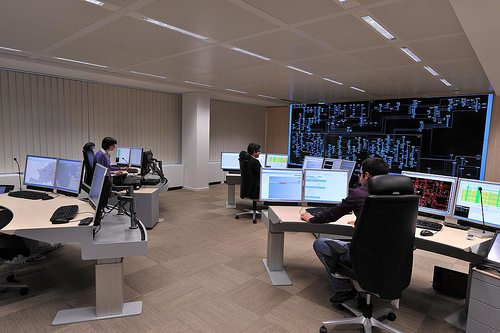
A first picture to show the environment as it was
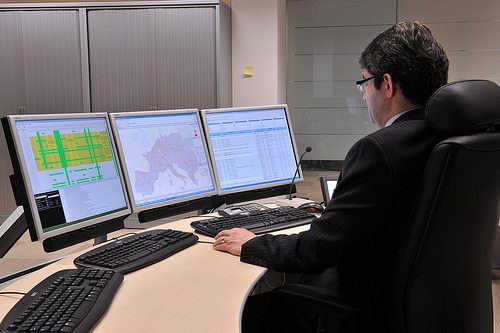
The next picture shows the reference “test” I have been using, here with normal light (fluorescent tubes)
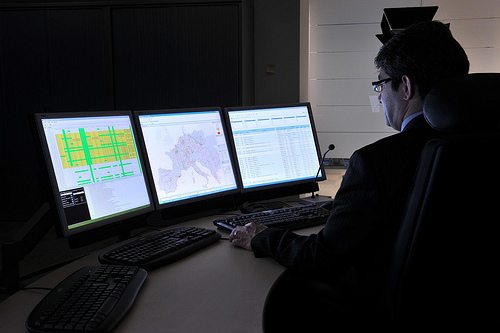
The same picture with the lights dimmed, I wanted to give the “night look” but the picture is just dark and there is no interesting “mood”
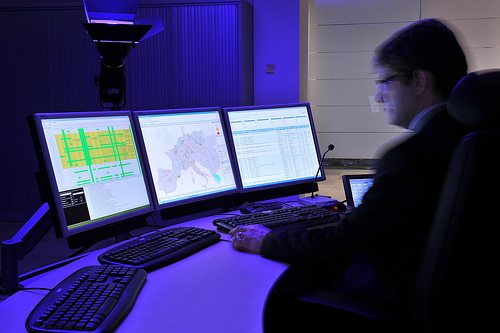
Here a first test with my “coloring system”, you can see the strobe in the background
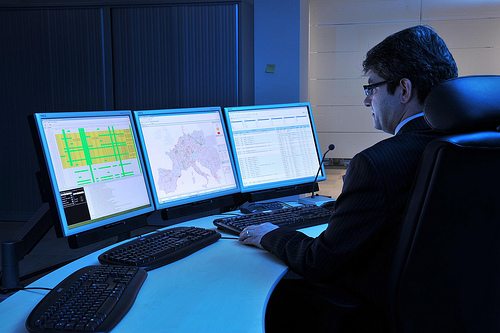
Another test with a light blue filter
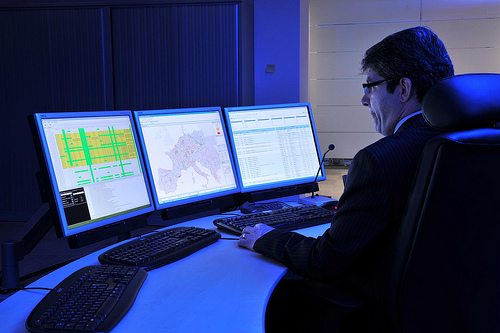
And the final test with a dark blue filter. This one gave me the mood I was trying to create and I decided to go for it.
Now that the appropriate color is chosen, I can take the actual pictures I needed. Here are two examples of the results.
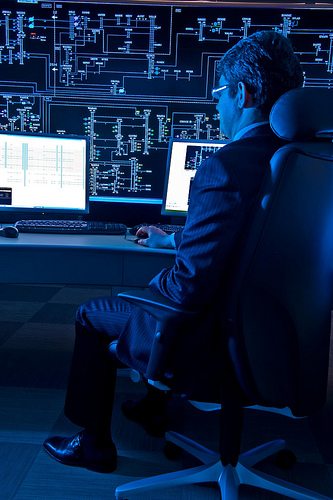
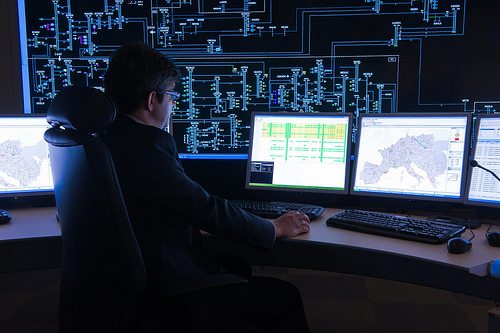
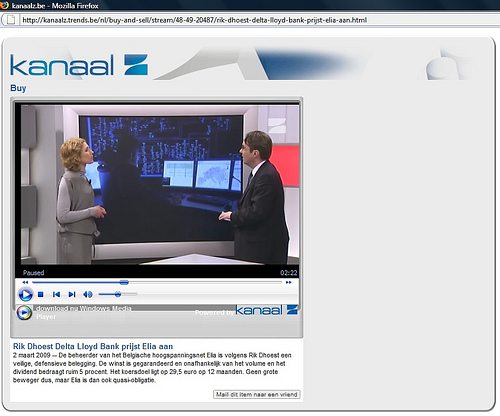
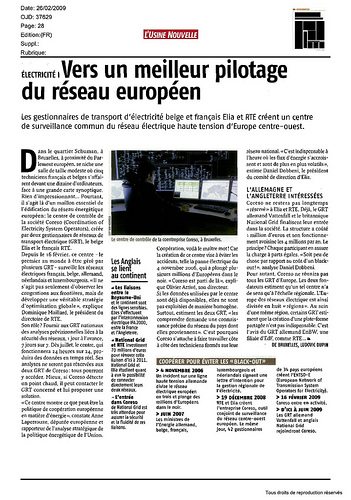
Three pictures have been selected for publication and have been shown in several papers, corporate magazines and even on TV. See the examples below:
Second Example
The coloring I have shown in the previous example can also make technical or industrial pictures more interesting as we are going to see in the next example. In this case I had to take pictures of people working in a very uniformly colored environment. All the equipment was cyan/light blue. To add some warmth to the place, I decided to go for orange.
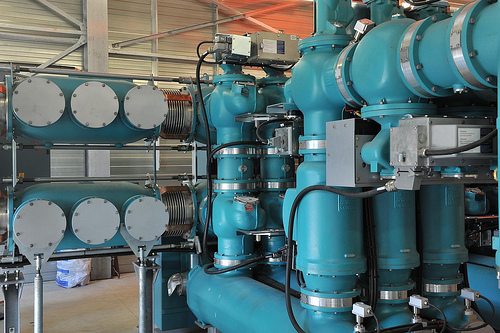
In this first picture, you can see the natural color of the equipment
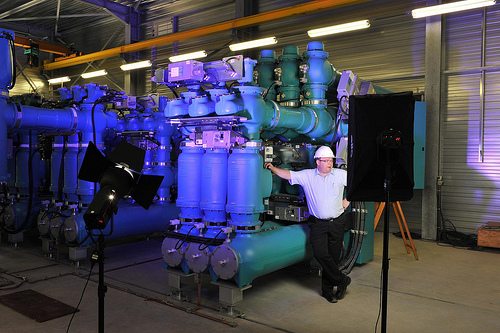
In the following picture, the strobe with filter is seen on the left (I tried a dark blue filter here) and I added another 600Ws strobe on the right, with softbox, to get natural light on the person to be photographed (not the person on the picture who helped me determine the proper setup)
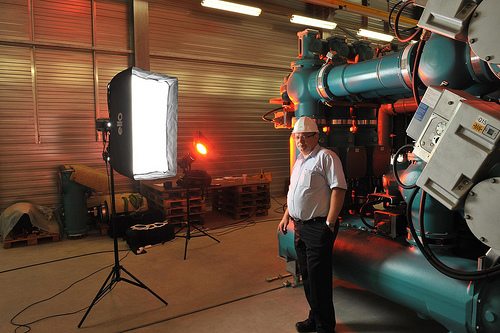
Another view of the strobes
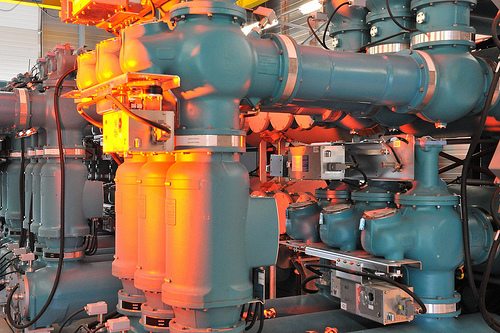
Example of colored equipment

Another example shot
–
![]()
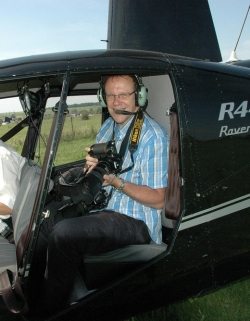 Guy Van Hooveld is an executive in the IT sector and also a freelance photographer. He is mainly specialized in industrial, corporate and event photography.
He also owns and manages the photography wiki (http://www.techniphoto.com/wiki), a site publishing general information about photography, reviews (contributors are welcome BTW). He also has experience in other areas like sports, product, landscape and wildlife photography.
Company: Guy Van Hooveld Photography
Webiste: http://www.techniphoto.com
Blog: http://guyvanhooveld.blogspot.com
Twitter: http://twitter.com/photographywiki
Facebook: http://www.facebook.com/pages/Photography-Wiki/180789648015
Photo/Video Credits: © 2010 Guy Van Hooveld
Here’s how you can share your tips, techniques and tutorials on CurrentPhotographer.com
–
*The Current Photographer website contains links to our affiliate partners. Purchasing products and services through these links helps support our efforts to bring you the quality information you love and there’s no additional cost to you.
Great post. I like how the test images were included. Very informative.
RT @TrevorCurrent: Lighting Tip: How to alter colors during a photo shoot rather than doing it in post. https://currentphotographer.com/how-to-al… #photogr …
RT @TrevorCurrent: Lighting Tip: How to alter colors during a photo shoot rather than doing it in post. https://currentphotographer.com/how-to-al… #photogr …
RT @TrevorCurrent: Lighting Tip: How to alter colors during a photo shoot rather than doing it in post. https://currentphotographer.com/how-to-al… #photogr …
RT @TrevorCurrent: Lighting Tip: How to alter colors during a photo shoot rather than doing it in post. https://currentphotographer.com/how-to-al… #photogr …
RT @TrevorCurrent: Lighting Tip: How to alter colors during a photo shoot rather than doing it in post. https://currentphotographer.com/how-to-al… #photogr …
RT @TrevorCurrent: Lighting Tip: How to alter colors during a photo shoot rather than doing it in post. https://currentphotographer.com/how-to-al… #photogr …