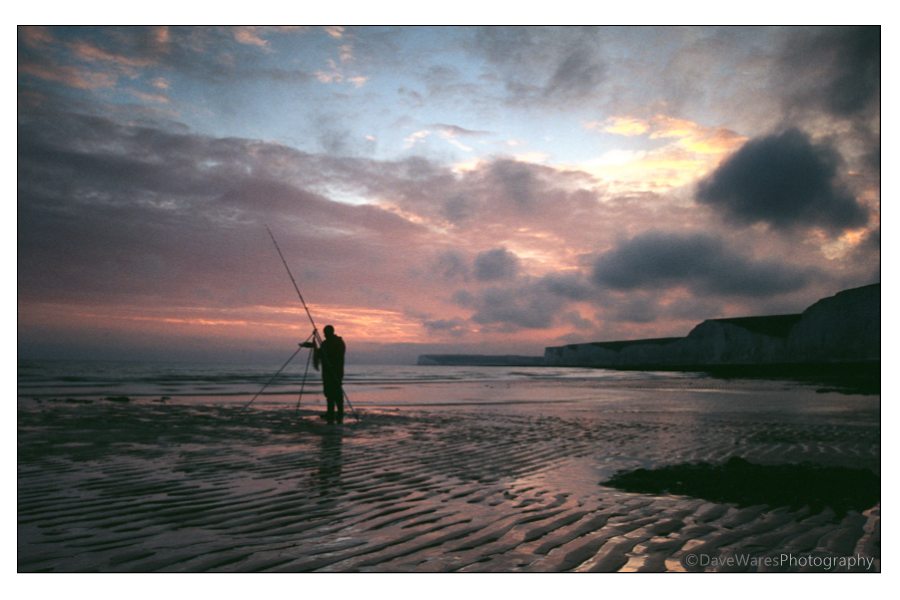
As a landscape photographer one of the big difficulties you’ll face will be trying to achieve a balance between the land and the sky. During normal daytime hours this won’t be an issue but as we know the best times to be out is during the golden hours either end of the day. At these times the sky will be much brighter than the land and although our eyes adjust pretty well to this kind of scenario our cameras just won’t be able to cope with the huge difference in contrast. This means you will have to compromise by either metering mainly for the sky which would result in a dark landmass, or metering for the land which would more than likely result in over exposing the sky. To overcome this there are a few ways in which we can tackle this problem and the one we are going to look at today is by the use of filtration.
For the purpose of balancing the contrast between land and sky it is the graduated grey (Grey Grads and ND Grads) filter set that you will need, plus a holder and adaptor rings with thread sizes to fit to your lenses. You can also get ones that screw directly onto the lens but a down side is that you’ll probably need a different set for each lens you own due to differing thread sizes. Filter systems are available from various manufacturers at prices to suit all budgets but I would recommend that you go for the best and largest you can afford. It is essential that you get a system that is much larger than the thread on the front element as this will prevent vignetting.
Grey grads can be labelled in a few different ways depending on the manufacturer, some are sold as either light or dark grads and are generally the cheaper option or sometimes they can be labelled as 0.3, 0.6, 0.9 referring to the number of stops of light they affect, being 1, 2 and 3 stops respectively. Cokin’s system are labelled as NDx2, NDx4 and NDx8 and follow the same rule. In addition to this there are also hard edge and soft edge versions and this refers to the transition from light to dark. Use hard edge where there is an abrupt change in contrast and soft where there maybe things that cut across the skyline. The most commonly recommended filter is the hard edge 0.6 grad, so if you can’t afford a set then this is a good starting point. Another thing to note is that these more expensive filters will be neutral density and so the camera won’t record the grey colour, whereas the cheaper grey ones can be known to affect colour. Cokin filters is a good brand for the average budget but if you can stretch to it then it may be a better choice in the long run to go with filters such as those made by Lee. Remember that if you buy good quality you’ll only have to buy once.
So now that we have our filters and filter holder set, how do we go about using them? Well it is a pretty straight forward process and one that you will get used to after a few attempts. First you’ll need to set your camera to manual mode, which as a landscape photographer I recommend you get comfortable with anyway. Next you’ll need to take two meter readings, one for the sky and one for the land, the difference between these two readings will dictate which filter/s you will need. Set the reading you made for the land and while looking through the viewfinder place the filter/s accordingly. You should now get a perfect or near perfect exposure. Filter holders usually have slots to place up to four filters in, so you can always stack them if the need arises. For instance, stacking a 0.3 and 0.6 gets you a 0.9. Remember though that by putting more if front of your lens you’ll be slightly decreasing image quality while increasing the chance of flare, so keep filters to a minimum wherever possible.
Next time we’ll be looking at using multiple exposures and HDR to help balance the scene.
*The Current Photographer website contains links to our affiliate partners. Purchasing products and services through these links helps support our efforts to bring you the quality information you love and there’s no additional cost to you.
Based on the south coast of England UK, I love to photograph landscapes and nature. In addition to this, over the past two to three years I’ve become fascinated with Urban Exploration and dereliction.
I’ve always had a passion for creating art, studying art and design during my school years and spending much of my time watercolour painting. After a brief love affair with playing rock guitar, photography was to be the next step in my creative life and I haven’t stopped since.
My photography has always been a continuous journey, constantly trying to gather as much information as I can to help push my photography to new levels and explore new avenues of creativity.
I love sharing the things I have learned and over the past few years
I have been an active committee member of a local camera club, giving occasional tutorials on photo skills and basic Photoshop techniques. I am also the proud winner of ‘The Portman cup’ for ‘Best Image of 2010′ at the Sussex Photographic federation’s Projected Digital Image competition.
