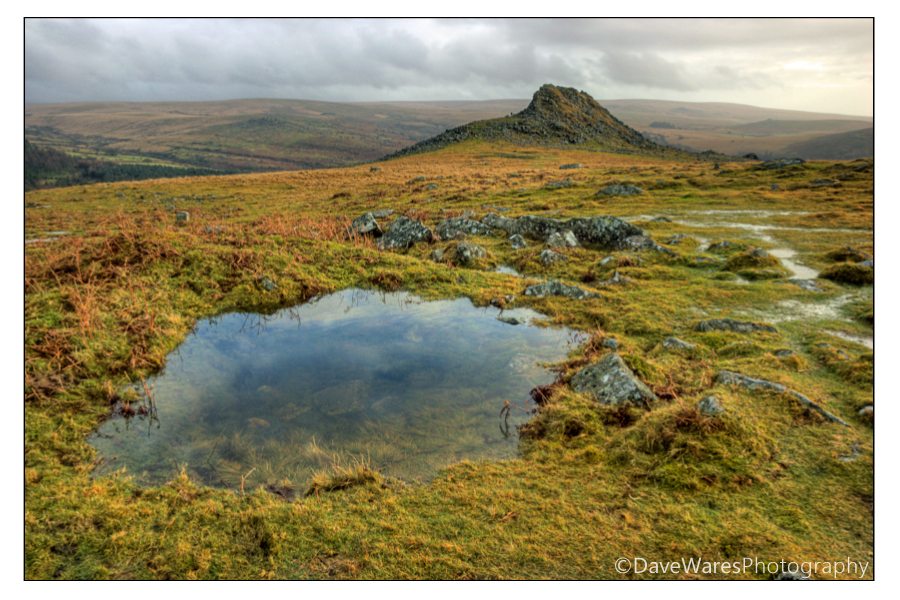
In my last post we looked at how to use graduated ND filters to help balance the scene when the contrast between sky and land is too great for the camera to deal with. This time we are going to look at another two options to help balance the scene that use the same basic idea of taking multiple exposures with the intention of blending them together at the post processing stage. Exposure bracketing or AEB is not a new thing and has been a feature on both digital and film SLRs for years. The idea when using film is to hedge your bets and make exposures either side of the cameras recommended value, thus ensuring at least one slide with a decent exposure when you got your film back from the lab. This idea stayed when digital cameras were introduced, but nowadays we’re using the different exposures to make one good one. This can either replace the idea of using a filter system or can be an alternative when presented with certain situations where a filter may cause more problems. These sorts of situations could include something like a mountain valley or perhaps a city scene, with lots of tall buildings cutting across the skyline. In these situations the filter would not only darken the sky but would also darken your mountain or skyscraper.
So the first option of using multiple exposures would be to take at least two shots, one biased towards the sky and one towards the land with the idea of merging them together on the computer. This is a fairly straight forward process which involves bringing both pictures together as layers then erasing the unwanted parts as necessary, taking care to do it gradually to achieve a seamless result. Once it looks right you can flatten the layers and continue to work on the image as a whole. In reality there in an awful lot of dynamic range within a single RAW file and with the help and careful use of the Highlight/Shadow tool in Photoshop you will be able to achieve great results using just two exposures.
 S
S
The next option is to take a series of exposure brackets and merge them together to make a tonemapped HDR image using software such as Photomatix Pro, my HDR program of choice. (There are many other programs out there for you to download and try for free if you wish.) HDR certainly has had it’s share of bad press over the years due to many people not liking the more surreal arty look that many associate with it, however you can get very natural results as well, so don’t dismiss this option before having a go and seeing for yourself. Using all the smoothing sliders effectively is the route to a more natural looking image.
In a similar fashion to the first option the idea here is to take exposures biased towards both sky and land only this time based around a single average exposure. The average exposure is the one you would have normally taken if no other option were available to you. Don’t assume that 0EV will be the middle point either, so find this out first before proceeding to take your series of brackets. I would recommend you set the camera to full manual and choose a white balance other than Auto for consistency. Always use a tripod and keep your ISO at its lowest setting to get the cleanest results. I would always recommend shooting RAW as well. Opinion on the number of brackets and EV spacing needed does differ, but for the most part I would say you need only shoot three brackets +/-2EV around the average exposure. This is a huge dynamic range to have covered, more than you would normally find yourself if you had been using grey grad filters. Occasionally I have needed the extra bracket but these occasions are few and far between. Remember the idea is to balance the scene not to make all the tones even. Bright areas should remain bright, shadows should remain shadows. If you want to go the surreal arty route then that is fine too but note this is not the aim I’m putting forward for this post. Additionally, HDR is always a handy option to keep in mind when traveling light and all your filters are at home.
There are plenty of step by step guides out there for all the above methods, but as for anything there is no better way to learn than by getting out there and doing.
*The Current Photographer website contains links to our affiliate partners. Purchasing products and services through these links helps support our efforts to bring you the quality information you love and there’s no additional cost to you.
Based on the south coast of England UK, I love to photograph landscapes and nature. In addition to this, over the past two to three years I’ve become fascinated with Urban Exploration and dereliction.
I’ve always had a passion for creating art, studying art and design during my school years and spending much of my time watercolour painting. After a brief love affair with playing rock guitar, photography was to be the next step in my creative life and I haven’t stopped since.
My photography has always been a continuous journey, constantly trying to gather as much information as I can to help push my photography to new levels and explore new avenues of creativity.
I love sharing the things I have learned and over the past few years
I have been an active committee member of a local camera club, giving occasional tutorials on photo skills and basic Photoshop techniques. I am also the proud winner of ‘The Portman cup’ for ‘Best Image of 2010′ at the Sussex Photographic federation’s Projected Digital Image competition.