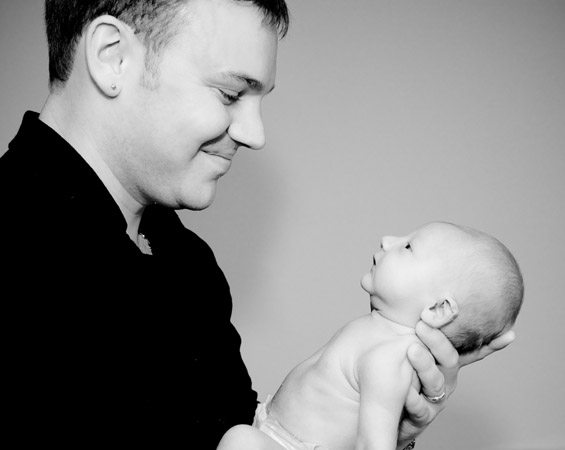
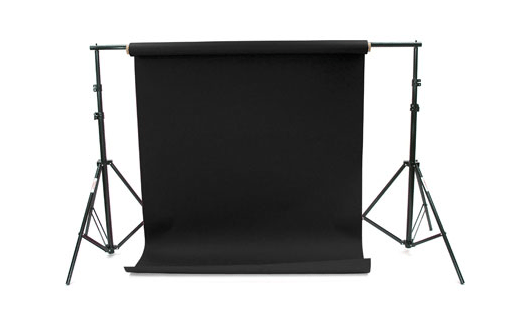
When acquiring a Business Portraiture client it’s always best to know before hand how the client will use the image. Meaning if the client will be using his/her image for web posting or high quality publication it’s best to light for deeper shadows. This is more or less for men especially as deep shadows can indicate Strength and Intelligence (not that women are equally the same) but non the less you’ll see more Business Portraiture for men photographed this way. Now I will say some women like that type of lighting scenario and will occasionally ask for it as in the following images
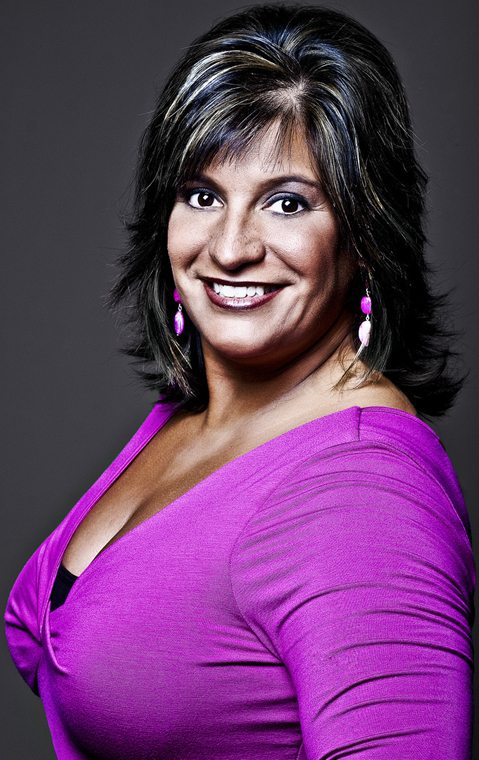
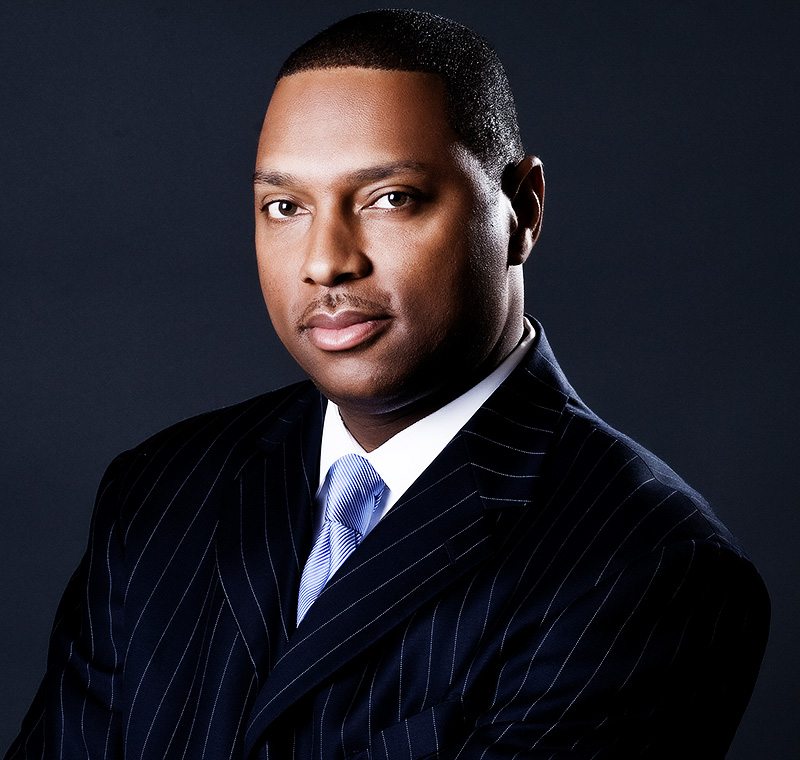
Now if the client is using the image for lets say newspaper paper pre-production or other venues where the image quality is lower, then you should aim to fill in the shadows. The last thing you want in that scenario is poor reproduction that will render darker areas without details. Even if the imagery will be used for general usage, fill in the shadows as a matter of course.


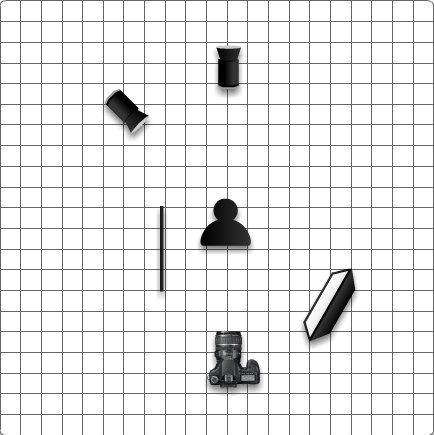
The above diagram is my typical setup for men and women who want deep shadows for the portraits. This is more for men so I suggest again knowing what your client wants well in advance so that you can prepare appropriately. The setup uses three lights, a key light, a hair/rim light and a background light. The gobo or black subtraction panel is optional but I like it to deepend the shadows depending on where you place the panel. Now you can use whatever light modifier you are most in tuned with. For most of my portraits I generally use a large softbox and occasionally I’ll use a medium soft box or an umbrella. The hair/rim light uses a 30 degree grid as well as the background light (play around and try some with the light off you may like the result).


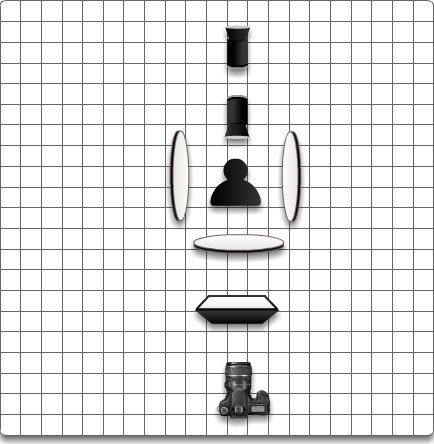
This diagram is what I use for most of my Female Portraits and it also works well for Business Portraits. The setup is three lights; key, hair, background and three white or silver reflectors. Key light is primarily postioned directly in front 4 feet from the subject and about 4 feet above camera height. The reflectors are generally placed two feet from the subject on either side (you can place them closer or further depending on the look you are going for). The third relfector in front is placed chest high underneathe the subject’s chin to fill in those shadows (you can place the reflector closer or lower to the subjects chin depending on the final look). If you have the budget for it or have the space for it add a second light in place of the third reflector. The results will be just as beautiful, but be sure to meter the light one f-stop below your main/key light. The hair light is placed directly above and slightly behind the subject’s head about 6 feet and angled toward the camera and uses a 30 degree grid. The background light uses a 30 degree grid and is generally placed 2 feet behind the subject and aimed at the middle part of the background (white or studio gray) to give it a gradation. The results are always flattering and complimentary for women subjects.


These two are just a handful of setups I use for my Business Portraiture. I encourage you to try the setups and practice the lighting schemes until you produce images you and your clients are happy with. In the end the client is who we want to be happy and return again and again and again.
 Daryl Brown is an award winning beauty, fashion, and portrait photographer located in Arlington, VA. Daryl’s career as a photographer has spanned nearly two decades from his start as a news videographer to his work today photographing all types of individuals…from radio and TV personalities to aspiring models to new borns.
Daryl has received the prestigious Edward R. Murrow award and an Emmy award for photojournalism in investigative news.
Daryl is known for his attention to detail from prep to post in all of the images he has produced. His work has appeared in Council Magazine, The Washington Post and an exhibit at Century 21.

Company: Daryl Brown Photography
Phone: 571-232-5349
Email: d.brown.photography@gmail.com
Twitter: @darylbrownphoto
Facebook: https://www.facebook.com/darylbrownphoto/
Photo Credit: © Daryl Brown
Here’s how you can share your tips, techniques and tutorials on CurrentPhotographer.com
–