Author Archive for Chris Nitz – Page 2

Photography 101: The Rule of Thirds

The rule of thirds may come across as a simple rule, yet it can make a very powerful image. While a lot of photography rules have changed as technology improved, this rule has managed to stand the test of time. Let’s look at this rule and how you can use it to your advantage.

Before I dive into a few of my photos and how I utilize the rule of thirds, a small description is necessary. The idea behind this concept is that you break your scene into threes. An example would be shooting a beach scene. You place the sand in the foreground at the bottom third of the image, the water in the middle third, and the sky in the top third. This rule also applies to the vertical orientation in which you split the scene into thirds in a left to right fashion. Now, let’s look at a few images that utilize this rule.

There are a few ways I framed this image with the rule of thirds in mind. First, I kept the bridge and the vanishing point of the railroad tracks in the lower third of the frame. I also framed the shot so each side of the bridge appears in the lower left and right quadrants of the shot.

Next was framing the trees. While the trees do sneak into the middle portion of the image, I kept the bulk of them on the left and right thirds of the shot. I also tried to keep the trees contained to the bottom two thirds of the frame to allow for some negative space on the top of the shot. This decision ultimately creates a “T” for the fog to fill in, and directs the eyes into the image.

screen-shot-2011-03-25-at-2-35-47-pm

Read More→

Photography 101: Three Tips for Shooting in the Dark Without a Tripod

Shooting in the dark not only brings its own set of unique challenges for the photographer, but the final results of these challenges can be extremely pleasing to look at. Slower shutter speeds due to low light bring on great light-trails, light painting, creative subject lighting techniques, and so much more.

However, having a sturdy tripod is key to many of these techniques. So what do you do if you do not have a tripod on hand to shoot in a low light situation? A few ways to rectify this situation include:

1. Crank up the ISO on your camera. Turning up the ISO on your camera is the first thing you can do to compensate for the lack of light. Bumping up the ISO setting allows your camera sensor to take in more of the available light, thus allowing for faster shutter speeds and smaller apertures. This makes it easier to reduce, if not eliminate, all signs of camera shake in your end photos.

Turning this setting up does come with a bit of caution. The higher you set your ISO, the more noise you will end up with. Cameras continue to get better at reducing the amount of noise at high ISO settings, but it is not perfect. This is particularly noticeable if you are producing an HDR image as the graininess really comes out when you stack multiple exposures. Do some test shots to see what acceptable ISO levels you have on your camera.

If you want that extra bit of light, try opening up your aperture a bit. This may give you a shallower depth of field, but it can sometimes mean the difference in upping your ISO setting just one more notch. This is a preference that you can only determine through testing various combinations and evaluating the end results. Read More→

Photography 101: JPG or RAW

Digital photography provides many choices when it comes to enhancing your unique vision. Everything from cameras, lenses, and post production software play a unique role in producing wonderful images. There is another piece to this puzzle that you need to consider as well. The question of RAW vs. JPG file formats is one that has no right or wrong answer, only what works best for you. Let’s take a look at these two formats and why you may want to use one over the other.

RAW is the native form in which your camera writes files to the memory card. This means Nikon’s RAW files differ from Cannon, Sony, Pentax, and so on. Each camera even puts its own unique file extensions on each photo. However, the differences in RAW files are more complicated than just file extensions and camera brands.

RAW files contain a large amount of information about a photo. This info ranges from the make of camera all the way down to if you fired a flash or not. That information is stored differently in every manufacturer’s RAW file. For example, Nikon may write the info in this order: camera type, iso, shutter, aperture, lens, date, time, and white balance. However, Pentax may write their info as: lens, date, camera, iso, shutter, time, white balance, and aperture. There is no standard for writing info into RAW files.

All of this info brings on a disadvantage when it comes to the ability for the file to be opened by photo viewing/manipulation software. You may have noticed how patches are released for software like Photoshop, Aperture, or Lightroom when new cameras are released. These patches are necessary to read the native files from these new cameras. As you might imagine, this complexity in RAW files can make it a bit difficult to move photos from one piece of software to another at times. This difficulty is often resolved by converting the original photo into another file format such as a DNG, JPG, or TIFF. Read More→

The Myth of the Non-Manipulated Image

Surfing through various internet forums recently, I have noticed an argument that has resurfaced. This argument revolves around what people consider a manipulated image. We have all seen bad manipulations done for magazine covers, news articles, and even the odd internet article. Yet, this debate goes even further than simply removing a stray hair or masking out an unwanted building.

If we look at two of the extreme ends of this debate, there is the camp that wants photos right out of the camera with no post processing what so ever. The other end are those folks who don’t mind using tools like Photoshop, Nik Software, Photomatix, or even Picasa to modify their images in some form or another. Regardless where you fall in this spectrum, I would argue that we are all manipulating the image the moment we click the shutter button.

Why do I believe this? The simple fact is that no camera, no matter how technologically advanced, have the capabilities to capture what our eyes see and our minds interpret. We may try our hardest to reproduce what we are seeing with out eyes, but the fact is we are merely creating an interpretation. So where does the manipulation come in with the shutter click? It comes from the settings, extra lighting, and even filters we use to manipulate what the camera catches.

Here’s a simple example. You are shooting a beautiful tree at sunset. Your eyes are quickly adjusting between the lights and darks of the scene. You must carefully choose how you will expose this scene for your camera. So you dial in a specific shutter speed, aperture setting, and ISO level. You may add a graduated neutral density filter to help keep the sky in correct exposure with the ground. There might even be a polarizer filter added to help bring out more colors. All of these items may help you get the desired end result of a gorgeous image, but it is all stuff you are using to manipulate what appears on the memory card/film. Even specific films can be used to modify how a scene turns out. Read More→

Photography 101: Break Out Some Angles

One of the simplest ways to increase the visual appeal of your photos is with different points of view. Here is what I mean by changing your view points, or angles. We have all seen photos where the subject is straight on, with a relatively generic background. While the scene might be nice, it does not do enough to differentiate itself from the flood of similar types of photos online.

This is where you, your eye, a bit of creativity, and a small bit of work come into play. Prepare to lie on the ground, climb a tree, and generally look like a goon while you try to catch “the shot.” There is a reason why professionals are willing to lay in the dirt, and that is to create an image that is both pleasing to the eye while providing a different view point to set the photo apart.

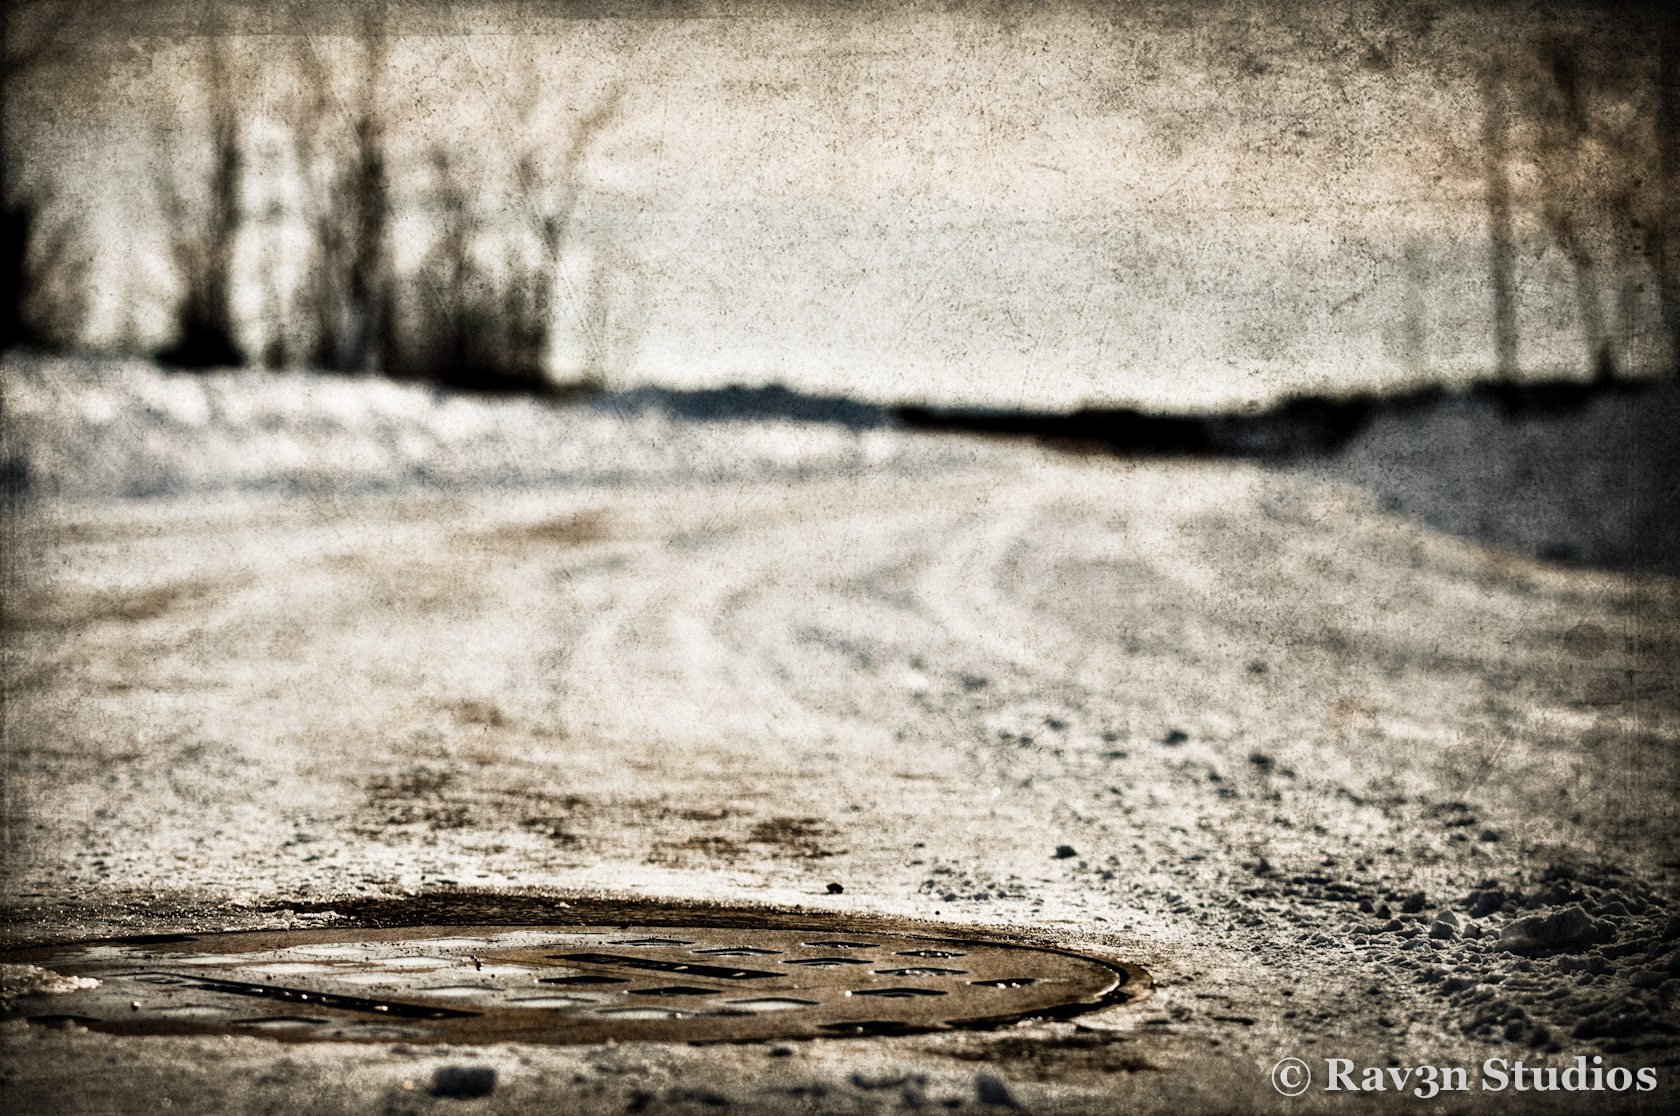
Changing your viewpoint to create something interesting maybe as simple as getting close to the ground. One example of this is in my shot of a manhole cover on a snowy street. You can tell this is a manhole, yet the angle at which the photo is taken obscures this item. The focal point is also shifted to the top of the rusty cover. This setup gives you a different way of seeing an otherwise ordinary subject.

skid-row

Read More→

Wrestling Bears Like A Pro Photographer

Time to take a step aside from the usual reviews and Photography 101 articles for a little something different. While there are so many great how to articles on the net, none of them address the more serious aspects we photogs face. The question I am asked on repeated occasions stems from my bio. Go ahead, read over it quick.

Now that you have an idea of who I am, I will address a common question. How do you wrestle bears? This is a wonderful question and I believe it is time to finally give you an insight into how you pull this feat off and come away in one piece. Without anymore delay, here are a few tips to bear wrestling.

1. You must start with the correct physique. Now it doesn’t matter if you are small or tall, skinny or round. What matters is your chest and back hair. You never see a clean person wrestling bears. No, they always have a big thick coat of hair covering their body. Now while this may turn some people off, there is a good reason for all this hair. That reason is protection! Read More→