Modern cameras are truly wonderful devices, every time a new one comes out it’s seems to be packed with more and more cool stuff to temp you into parting with your cash. Of course many of these features can be quite useful in certain situations but for the most part a good proportion of functions will rarely be used. This is very true for the landscape photographer. Sturdy build, good glass, a decent viewfinder, a reliable light meter and the ability to alter the aperture and shutter speed separately is all it needs to do. The question of resolution/pixel count really comes down to what it is that you’re going to be doing with your images, and if you never print larger than A4, a 6MP DSLR will do the job just fine. 12MP seems to be a good amount for the majority of folks but even the lower end cameras are now offering more resolution than this; cool if you want huge prints or to aggressively crop your images, but most of us just won’t utilize the full resolution of our cameras.
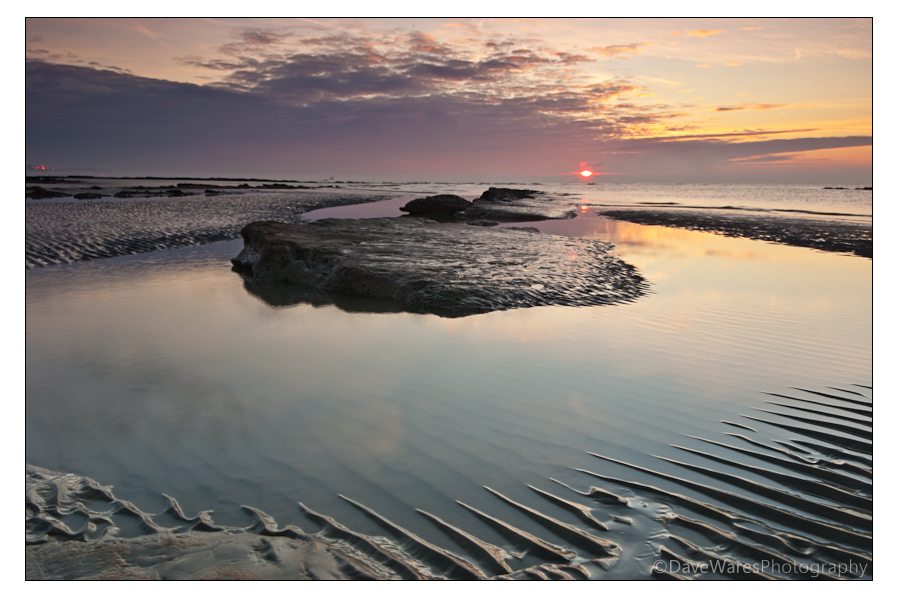 So, your camera will come with a number of exposure modes; Program, Shutter priority, aperture priority, Auto, Manual and in addition to this there will be a selection of scene modes to choose from. I only ever use two of these modes; Aperture priority and Manual. Aperture priority is great in situations where you have to work fast; you get to choose the aperture and thus the depth of field, and the camera selects an appropriate shutter speed to get a good exposure, or at least what it deems to be a good exposure.

Based on the south coast of England UK, I love to photograph landscapes and nature. In addition to this, over the past two to three years I’ve become fascinated with Urban Exploration and dereliction.
I’ve always had a passion for creating art, studying art and design during my school years and spending much of my time watercolour painting. After a brief love affair with playing rock guitar, photography was to be the next step in my creative life and I haven’t stopped since.
My photography has always been a continuous journey, constantly trying to gather as much information as I can to help push my photography to new levels and explore new avenues of creativity.
I love sharing the things I have learned and over the past few years
I have been an active committee member of a local camera club, giving occasional tutorials on photo skills and basic Photoshop techniques. I am also the proud winner of ‘The Portman cup’ for ‘Best Image of 2010′ at the Sussex Photographic federation’s Projected Digital Image competition.
