Author Archive for Dave Wares – Page 2

Scenic Outlook – Preparing for Winter

It doesn’t seem like that long since I did my autumn post but here we are getting into December and the winter months. For a lot of people winter means cold and wet and staying at home all snug and cosy with the fire roaring. Ignore your desire for comfort because if you do you’ll be missing a wealth of opportunity that awaits in the great outdoors.
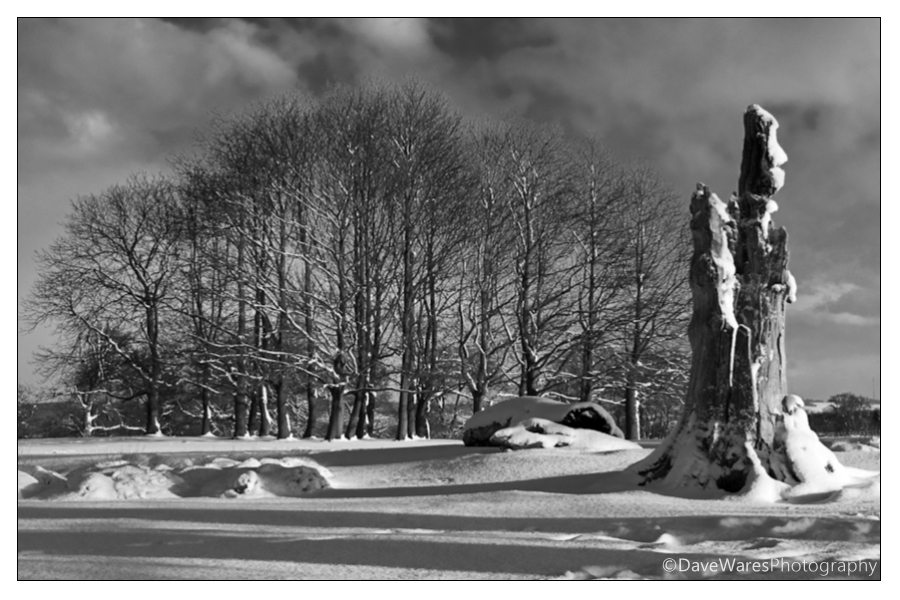
There are many things that you can get your teeth into during the winter months, with the sunlight remaining fairly low throughout the day you can really make the most of your time. Most of the trees will be bare, which in some cases is when they can look at their best, photographically speaking, especially when there has been a heavy frost or some snowfall as this will really pick out those branches. You could have rolling hills covered in snow, an icy lake, the list goes on and on. Read More→

Scenic Outlook – Look for Details

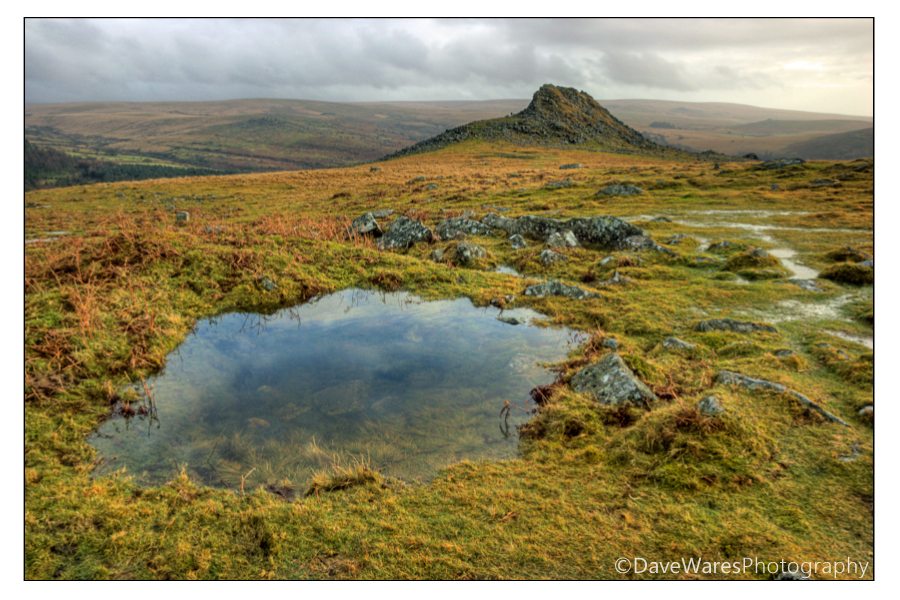
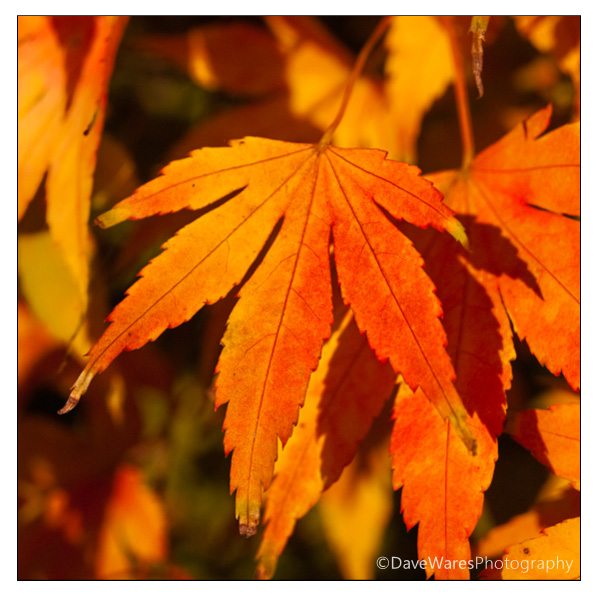
We all love going out with our wide angle lenses to try and capture the vast landscapes we see before us. The hills and valleys, a vast lake or golden sandy beaches with blue skies and fluffy clouds; it is these kinds of things that capture our imaginations. But landscape photography is much more than just this, it is about seeing things within the landscape, looking for objects, patterns and colour that you could pick out and show off. Sometimes this can referred to as ‘Macro landscapes’, but it doesn’t necessarily mean taking shot with a macro lens. All three examples you see here were taken using a 18-50mm focal range but any focal length could be used depending on the situation you’re in. Telephoto lenses are great for picking out things in the distance, but they can also be great for close-up photography as well if you don’t have a dedicated macro lens.

You could choose something straight forward such as focusing on one particular tree to show off it’s branches and foliage. Read More→

Scenic Outlook – Balancing the Scene Part 2: Multiple Exposures and HDR Tonemapping

In my last post we looked at how to use graduated ND filters to help balance the scene when the contrast between sky and land is too great for the camera to deal with. This time we are going to look at another two options to help balance the scene that use the same basic idea of taking multiple exposures with the intention of blending them together at the post processing stage. Exposure bracketing or AEB is not a new thing and has been a feature on both digital and film SLRs for years. The idea when using film is to hedge your bets and make exposures either side of the cameras recommended value, thus ensuring at least one slide with a decent exposure when you got your film back from the lab. This idea stayed when digital cameras were introduced, but nowadays we’re using the different exposures to make one good one. This can either replace the idea of using a filter system or can be an alternative when presented with certain situations where a filter may cause more problems. These sorts of situations could include something like a mountain valley or perhaps a city scene, with lots of tall buildings cutting across the skyline. In these situations the filter would not only darken the sky but would also darken your mountain or skyscraper.

So the first option of using multiple exposures would be to take at least two shots, one biased towards the sky and one towards the land with the idea of merging them together on the computer. This is a fairly straight forward process which involves bringing both pictures together as layers then erasing the unwanted parts as necessary, taking care to do it gradually to achieve a seamless result. Once it looks right you can flatten the layers and continue to work on the image as a whole. In reality there in an awful lot of dynamic range within a single RAW file and with the help and careful use of the Highlight/Shadow tool in Photoshop you will be able to achieve great results using just two exposures.

S

Read More→

Scenic Outlook – Balancing the Scene Part 1: Graduated Filters

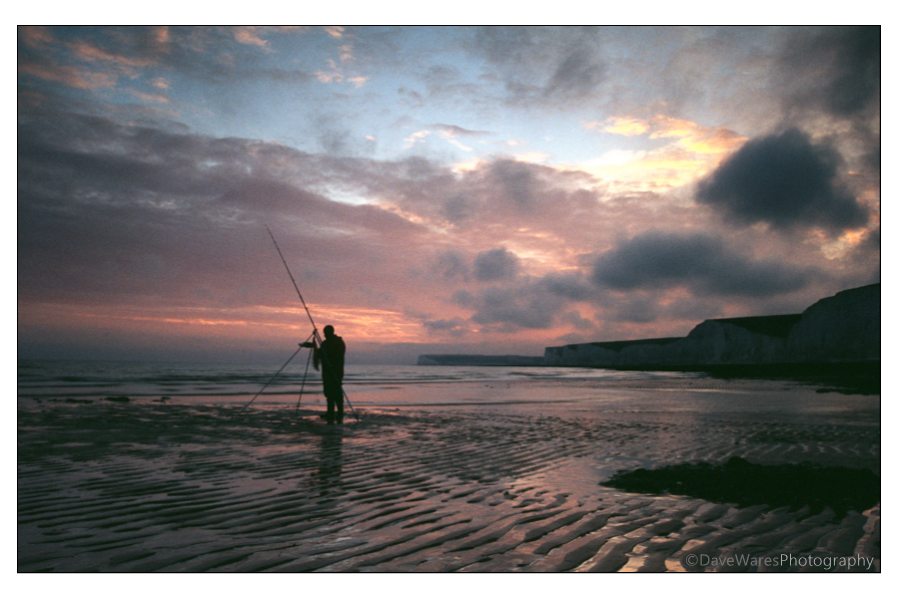
As a landscape photographer one of the big difficulties you’ll face will be trying to achieve a balance between the land and the sky. During normal daytime hours this won’t be an issue but as we know the best times to be out is during the golden hours either end of the day. At these times the sky will be much brighter than the land and although our eyes adjust pretty well to this kind of scenario our cameras just won’t be able to cope with the huge difference in contrast. This means you will have to compromise by either metering mainly for the sky which would result in a dark landmass, or metering for the land which would more than likely result in over exposing the sky. To overcome this there are a few ways in which we can tackle this problem and the one we are going to look at today is by the use of filtration.

Read More→

Scenic Outlook – Getting the White Balance

Over the past few months I have read a number of online articles giving advice on how to achieve a ‘proper’ or ‘correct’ white balance, some of them from reputable sources. They go on to explain how to get a so called ‘proper’ white balance by the use of things like a grey or white card which should be set at the start of a shoot by using the preset white balance function on your camera. The trouble is that this advice by itself can be a little misleading and they should really qualify their posts by stating, ‘This is how to set a neutral white balance for use in certain shooting situations ‘. A neutral white balance will render white objects white, eliminating colour casts from various light sources, such as a table lamp for example. These situations will include things such as product photography, portraiture, record nature photography etc., and the way to achieve this is simply to place a grey card in front of your subject and select the preset white balance option on your camera, it will then prompt you to take a shot to measure the colour temperature of the light thus setting a neutral white balance.

For scenic and pictorial nature photography it is not always necessary to set your white balance in this way. We can use our white balance for more artistic purposes.

What we can do as scenic photographers is to learn to use the various white balance settings in a more creative manor, which will help to bring added mood to your pictures. The various options may include Daylight, Cloudy, Shade, Tungsten and Fluorescent which are set at various colour temperatures ranging from yellow through to blue. (On a side note there is also a green though magenta shift referred to as ‘tint’, and can be found in various RAW conversion software programs. Any noticeable casts in these colours can be altered here.) There will also be an Auto white balance option and on some high end models there will also be an option to set a specific colour temperature, measured in Kelvin. While the Auto option can be great in some situations, its main purpose is to automatically adjust and remove what it thinks to be a colour cast. For us as landscape photographers the Auto WB can be a pain and I would recommend that you don’t bother with it. The camera doesn’t know the sun is casting a lovely golden light across the landscape, instead it sees the yellow as a problem and tries to remove it by adding more blue. Read More→

Scenic Outlook – Autumn Approaches

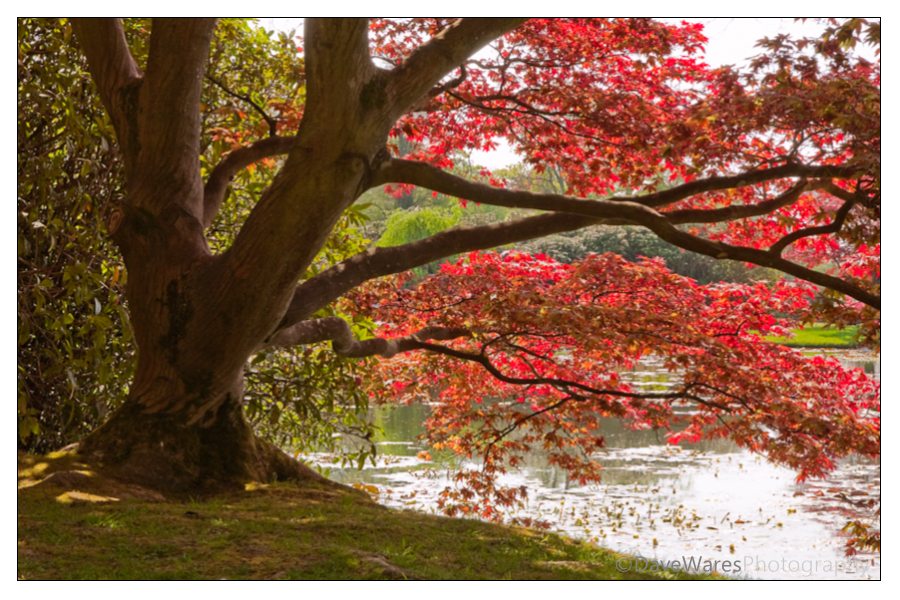
If I’ve timed this right then Autumn/Fall should be upon us, at least for those of us in the northern hemisphere. If summertime didn’t quite grab you enough to get you out of bed at ridiculous times of the day then autumn sure will. Due to the higher position of the Sun during the summer months the light is often very strong giving less definition to the landscape. In addition to this the grass will be green as will much of the leaves on trees and bushes, nice for us to look at but very often does not translate into photographs very well, this is because you end up with a mass of greenery in the picture and it becomes very difficult for us to see all the elements individually. During Autumn however, this all changes, with nearly all of the trees foliage gradually turning from greens through to yellow then to reds, and all at different rates.

This display of colours combined with the ever lowering position of the sun creates some of the most beautiful scenery nature has to offer. As I’ve said before, being out both during early morning and late evenings pays dividends for your photography as all these wonderful colours are brought to life, being more saturated with the warm glow of the rising/setting Sun. Read More→