Archive for Make Better Photographs – Page 17

A Photograher’s Diary, Chocs Away!

Welcome to a new style of column for me, moving away from the Starting a Photography business series and into a more general look at the life of a photographer. The articles will remain just as candid as you are used to though it will cover a wider range of topics. So, without further ado onto what’s been keeping me busy these last couple of weeks.

Tranquil Gardens

It’s finally here; Healing with Photography has made its maiden voyage into the arena of the general public. Last week saw the very first session of the course with a group of people who are all suffering from some kind of mental distress.

And strangely, I wasn’t even nervous when I had a group of people gathered in front of me all looking at me expectantly. There were no thoughts of I’m just a photographer passing on knowledge of things that helped me to get better, what am I doing here? I stepped fully into my inner power and talked from the heart. I loved being with this group, I loved slowly observing the participants that had been coerced into attending by the group leader, unconsciously start to unfold their arms, let the barriers down and start to participate fully. Read More→

A Photographer’s Diary, Behind the Scenes

Rising before the crack of dawn it’s show time; well for the exhibitors rather than me the photographer. Today is press day for the RHS flower show at Tatton Park, and excitingly for me, the venue is open from 6am for exclusive shots uninhibited by the public.

Tatton Park, a National Trust Property is a mansion set in acres of parkland and is the place I regularly come to to relax and unwind. To be able to drive into the parkland in the early hours and have the place virtually to myself is such a treat.

The sheep standing in the middle of the driveway lift their heads inquisitively and then dart out of the way as I drive towards them. To my right antlers poke out over the top of the grass as a dip in the bank hides the resting stags. The sun is breaking through clouds casting the most striking light across the lake where the swans, dazzlingly white, are having an early morning swim.

So then car parked and armed with press pass I’m ready to roll, just the show isn’t! All the gates into the ground are locked with security men standing around chatting. What a show here today? People wanting entry before 10am? Unheard of! After a nice morning stroll round the perimeter of the fence I find a kind security man with the power to let me in. It was meant to be; right beside this entrance is the flower marquee; for me the most important and stunning thing the show offers. This marquee all to me is absolute bliss; usually I’m a member of the public trying to get a good view of a stands along with everyone else.

As I walk into the tent the fragrance of lilies fills the air, it’s so intoxicating I could inhale it all day, I only wish I could bring that fragrance to you via this article. The lighting in this first of three tents is incredibly subdued despite overhead lighting. Moving on to the next tent I spot a chance for a bit of artistic license; a stand with a woodland scene with flowers planted that in the normal outdoor world you wouldn’t find together. This is the thing about RHS flower shows, to get presentation awards the nurseries have to think outside the box and put together combinations not naturally found in gardens; it’s a photographer’s dream.

Tropical Lilies

Read More→

Scenic Outlook – Balancing the Scene Part 1: Graduated Filters

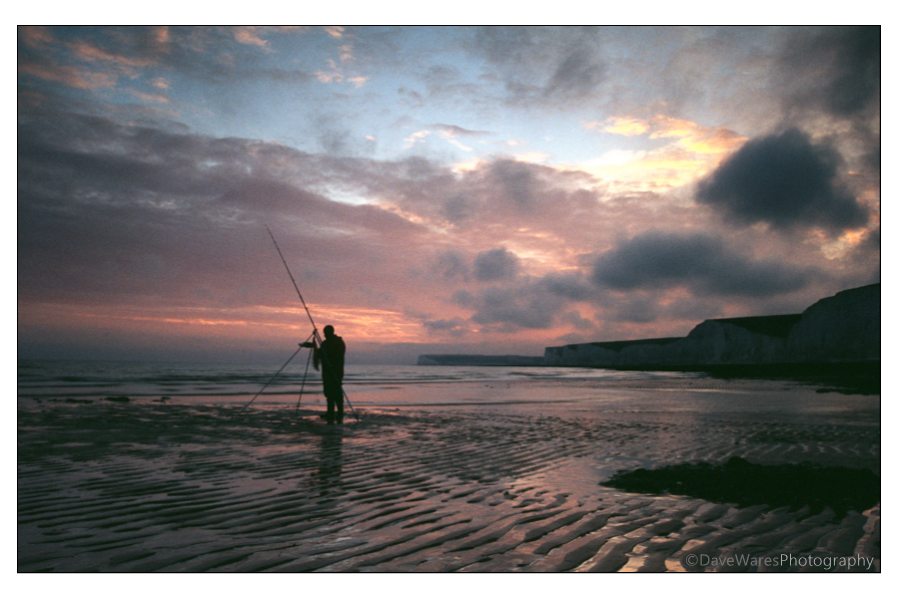
As a landscape photographer one of the big difficulties you’ll face will be trying to achieve a balance between the land and the sky. During normal daytime hours this won’t be an issue but as we know the best times to be out is during the golden hours either end of the day. At these times the sky will be much brighter than the land and although our eyes adjust pretty well to this kind of scenario our cameras just won’t be able to cope with the huge difference in contrast. This means you will have to compromise by either metering mainly for the sky which would result in a dark landmass, or metering for the land which would more than likely result in over exposing the sky. To overcome this there are a few ways in which we can tackle this problem and the one we are going to look at today is by the use of filtration.

Read More→

Guide to Keywording Images – Part 6: by Jody Apap

How Should I Keyword the WHY and HOW in My Images

This is the final installment of my series on how to keyword your images to increase your stock photography sales.  All the suggestions I’ve made should be applied to your images, whether you’re a full-time stock photographer, an hobbyist who hasn’t taken the plunge into selling stock yet, or if you are managing an image library for your company, school, non-profit or group of any kind.

Today we will cover the why (concepts, emotions, actions and adjectives) and how (photographic techniques used) of your images.

If you’d like to read the whole guide to image keywording, start here: How Should I Keyword My Images.

However, if you’ve already read the first five parts and are dying to read the exciting conclusion, then let’s get to it.

WHY

The why of the images is often as important if not more important than the actual objects in the image.  These keywords are generally describing why the people or object were worth photographing and, hence, worth buying.

For my own convenience, I’ve found that dividing the why into four distinct separate categories help me find more appropriate keywords. Having more discrete categories of keywords makes it easier keyword every element of the image.

I’ve divided the why into four categories: actions, concepts, emotions and adjectives.

  • Actions:  What’s happening in the image, whether it’s people or animals doing things, such as children eating or skipping, or an actions that is being depicted by objects, such as snow falling or raindrops splashing.
  • Concepts:  What’s the story of the image?  Home security, achievement, globalization, or the roaring 20’s are just a couple examples.
  • Emotions:  What are the people feeling?  Joy, love, apathy, and pride to name a couple.
  • Adjectives:  Important adjectives to describe the subjects of the image, such as red, shiny, expensive, bent or lazy.

Skimping on these keywords may very well mean missing out on marketing the most important part of the image–the story being told by the photo. Read More→

Guide to Keywording Images – Part 5: by Jody Apap

How Should I Keyword the Where and When of an Image?

Here I am again with another installment of my guide on how you should be keywording your images to maximize sales.

So, you think that the WHERE and the WHEN of an image should take about 5 seconds to cover. Well, the way most images are keyworded for these concepts, it’s easy to believe that most photographers think this, but there are several layers of keywords worth using to ensure your images are looked at by as many appropriate buyers as possible.

If you’re not convinced that its not worth your time coming up with as many correct keywords as possible, then you better read Image Keywording: The Best (and cheapest) Marketing You Can D0.

WHERE

The where of the image should be easy enough.

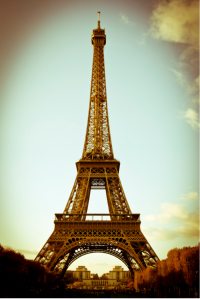
This image is of the Eiffel Tower, but don’t forget Paris, France, and Western Europe. That covers the place name, but you better also use the keywords landmark, tourist attraction and tourism. While someone might be looking for Eiffel Tower, other buyers may simply be looking for landmark Paris or tourism France. Remember, you cannot know exactly what the buyer will be searching for.

While this takes care of the proper place names, you should also use generic place keywords, such as:

  • exterior
  • interior
  • outdoors
  • studio shot

There are other aspects of WHERE the image is set that you should keyword. Read More→

Scenic Outlook – Getting the White Balance

Over the past few months I have read a number of online articles giving advice on how to achieve a ‘proper’ or ‘correct’ white balance, some of them from reputable sources. They go on to explain how to get a so called ‘proper’ white balance by the use of things like a grey or white card which should be set at the start of a shoot by using the preset white balance function on your camera. The trouble is that this advice by itself can be a little misleading and they should really qualify their posts by stating, ‘This is how to set a neutral white balance for use in certain shooting situations ‘. A neutral white balance will render white objects white, eliminating colour casts from various light sources, such as a table lamp for example. These situations will include things such as product photography, portraiture, record nature photography etc., and the way to achieve this is simply to place a grey card in front of your subject and select the preset white balance option on your camera, it will then prompt you to take a shot to measure the colour temperature of the light thus setting a neutral white balance.

For scenic and pictorial nature photography it is not always necessary to set your white balance in this way. We can use our white balance for more artistic purposes.

What we can do as scenic photographers is to learn to use the various white balance settings in a more creative manor, which will help to bring added mood to your pictures. The various options may include Daylight, Cloudy, Shade, Tungsten and Fluorescent which are set at various colour temperatures ranging from yellow through to blue. (On a side note there is also a green though magenta shift referred to as ‘tint’, and can be found in various RAW conversion software programs. Any noticeable casts in these colours can be altered here.) There will also be an Auto white balance option and on some high end models there will also be an option to set a specific colour temperature, measured in Kelvin. While the Auto option can be great in some situations, its main purpose is to automatically adjust and remove what it thinks to be a colour cast. For us as landscape photographers the Auto WB can be a pain and I would recommend that you don’t bother with it. The camera doesn’t know the sun is casting a lovely golden light across the landscape, instead it sees the yellow as a problem and tries to remove it by adding more blue. Read More→